
Fall colors

Fall is in the air in the mountains
Summer snow

Fresh snow makes for good tracking. In addition to human and dog we’ve also seen mouse, squirrel, deer and bear.
Funston artwork

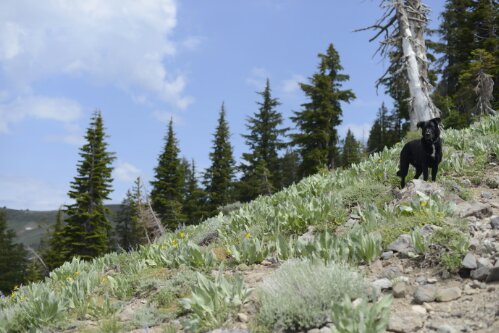
Dylan on the mountain
Ferry ride
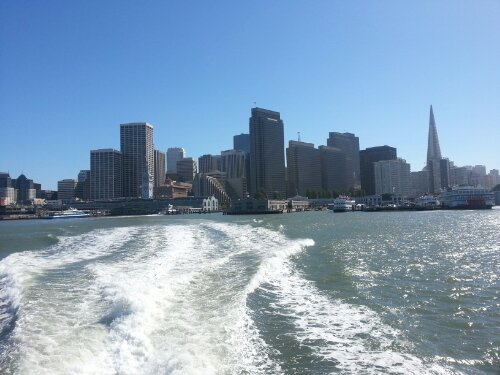
Yesterday’s ferry ride to Tiburon